

By: Kyla Jo Tighe—
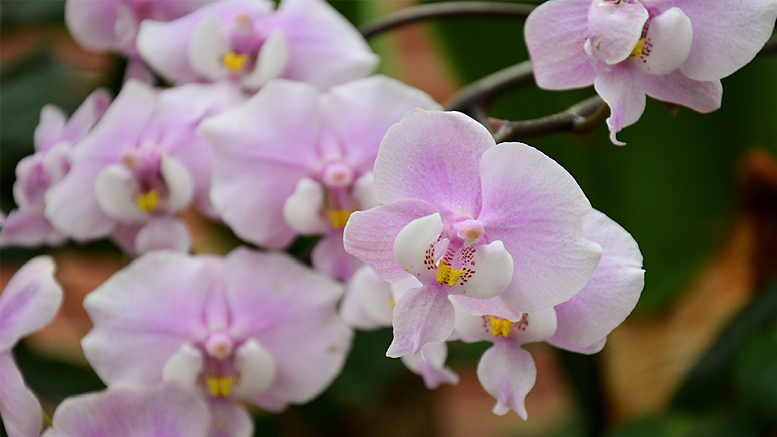
Flowers are beautiful in nature as well as indoors. As someone who grew up in the country, I planted, weeded, and watered flowers every year with my step father. His plants were his pride and joy. As we grew up my mom would photograph my little brother and I in front of his flower bed every summer. Flowers are one of the most popular photographed subjects, representing a beautiful still life with stunning colors and a huge variety of species. Without the correct amount of light and correct composition your photographs may not be showing your plants’ full potential. In this article I will review using a DSLR or iPhone camera, as well as give you advice on how and when to capture the clearest and most detailed photographs with any camera you may have available.
Photos by: Kyla Jo Tighe—Click image for larger view.
iPhone Photography:
In today’s society almost everyone has a smart phone or one available to use. As the iPhone advances, so do its camera lenses. Accessory lenses are also available to attach to the front lens of your iPhone. A macro lens would be your best investment. With the iPhone you can not get too close to your subject, due to the aperture being limited. This can cause a blurred image that will not be in focus. Back away from the flower. Still filling the frame as much as possible, touch on the screen where you want to focus and then take your picture. After you take your image, you can download and use editing apps that are free such as Afterlite, Adobe Photoshop Express and VSCO to crop and zoom in on your subject. These editing applications also have available preset filters that you can use or manually adjust the settings. You can brighten your image, add slight contrast, sharpen, adjust the highlights and shadows, color correct your image, and adjust the color balance of your photo.
Editing Software:
If you want to further your editing skills and learn more software, Adobe Photoshop® and Lightroom® are great computer editing softwares, though they do charge a yearly subscription, they are definitely worth the time to learn and the investment.
DSLR Cameras:
If you are lucky enough to own your own DSLR camera, you have a lot of settings that you can adjust and alter depending on the subject, lighting, and space you are shooting in. You have the choice to shoot in manual or automatic mode. Automatic is best for shooting a lot of different photos fast, the camera automatically adjusts to the lighting and sets proper exposure.
Shooting in manual allows you to adjust your shutter speed, and aperture manually. The best way to learn how to use these settings is to spend some time reading your manual, watching YouTube tutorials, or attending classes and workshops. Locally, Jacks Camera Shop offers training on digital photography. To obtain the greatest range of focus (depth of field) throughout the entire image, use a smaller aperture such as f/16 or f/22. A small aperture will allow you to capture a detailed image with full sharpness from the foreground to the background.
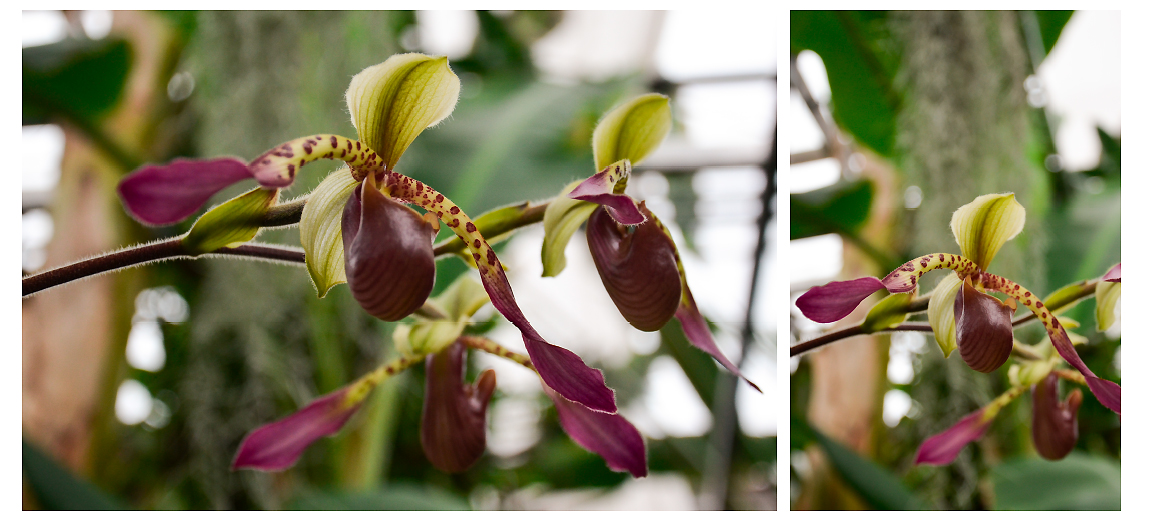
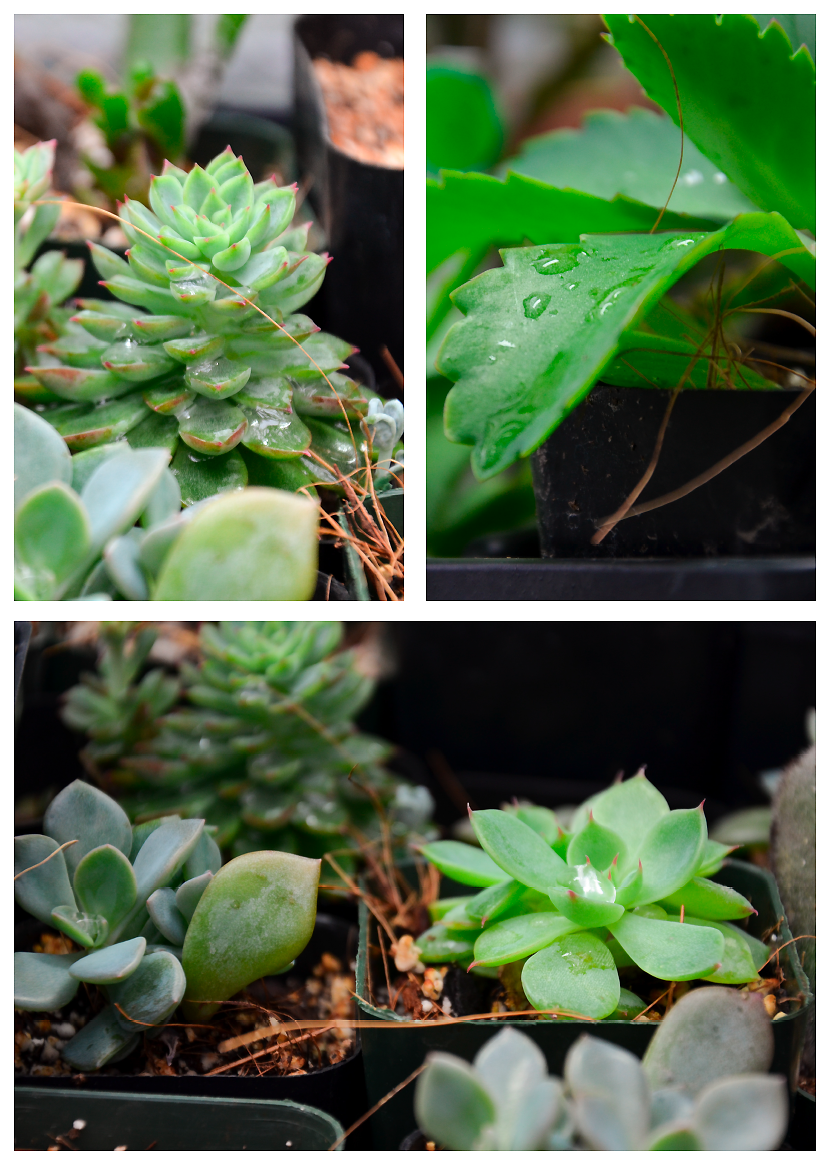
To obtain one area of clear and crisp focus and the rest of the image blurred, use a larger or wider aperture such as f/4 or f/5.5. This focuses your point of interest in clear detail while the rest of the image does not show details, but rather abstracted shapes and colors. This is called using a shallow depth of field. One setting that I use a lot on my Nikon D5100 is Aperture mode, this allows me to adjust only my f-stop while the camera adjusts the shutter speed automatically, allowing for larger and smaller apertures at a fast shooting pace. A great additional lens to add to your collection would be a 100mm macro lens that allows for closer shots and the ability to focus closely on much smaller details, such as dew drops on a petal. If you do not want to invest in additional lenses, Close Up Macro Lens Kits are available as well. These lenses screw on to the front of your existing lens allowing you to get closer to your subject showing more details and less distractions, yet are available at an affordable price.
Photos by: Kyla Jo Tighe—Click image for larger view.
Angle of Shooting:
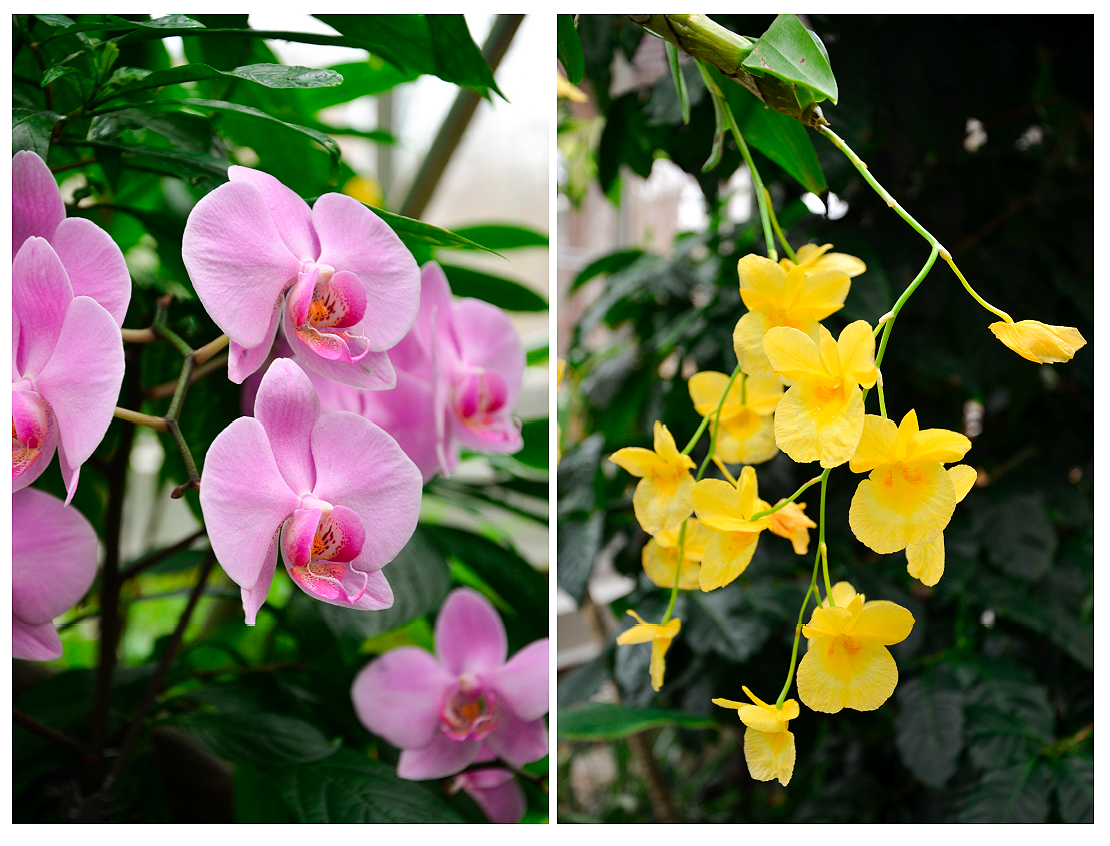
To get the most powerful image, you want to fill the frame entirely, getting down to the level of the plant and shooting as if you are at the same height. This gives the viewer a unique perspective of your flowers, as well as showing closer details that may not be seen from far away. If you are able to, crouch and lie down on the ground, shooting from below the petals up into the sky eliminates distractions in your background. When you shoot upwards into the sky the light shows through the petals, allowing for a transparency appearance, and more details in your image. When shooting multiple flowers you want to get close and fill the frame with only the flowers that you want to showcase. To show the details and the range of colors you want to make sure that the scene is not too busy with unwanted distractions.
Photos by: Kyla Jo Tighe—Click image for larger view.
Lighting:
Typically we like to spend our days outdoors in the sunny weather when the sun is high, but this is not the case when capturing photographs of your plants. The bright sunlight causes harsh shadows and over exposed areas on the petals, causing information and details to be lost. The best time of day to shoot is when the sun is setting or rising. If you are an early bird, you can capture the dew on the flowers with a rising sun in the background. If you are like me you would rather sleep in and wait until five or six in the evening when the sun is setting and it is starting to cool off (you can cheat and create fake dew with water or glycerine). Another great time to capture your plants is on those overcasts days, when clouds create a barrier between the harsh sun, yet still provide enough light to capture your work.
Photos by: Kyla Jo Tighe (Click on image for larger view.)
Indoor photography:
If you have a potted plant that you can move indoors, natural lighting pouring in from your windows makes great lighting to capture your plants, as long as the sun is not directly hitting them. Make sure to turn off all of your unnatural lighting sources such as overhead lights and lamps, these can cause a warm or yellow color cast to your photographs that take away from the natural color of your plants. Shooting indoors can allow you, as the photographer, to have more control of the surrounding areas and backgrounds. If you do not have a blank wall to use as a background place a white or black card behind your plant. A minimalistic approach would be to shoot with a background and leave empty space in the photograph by positioning the plant either on the right or left side of the composition, this allows the viewer to not be overloaded with too much information and to focus in on your flower arrangement.
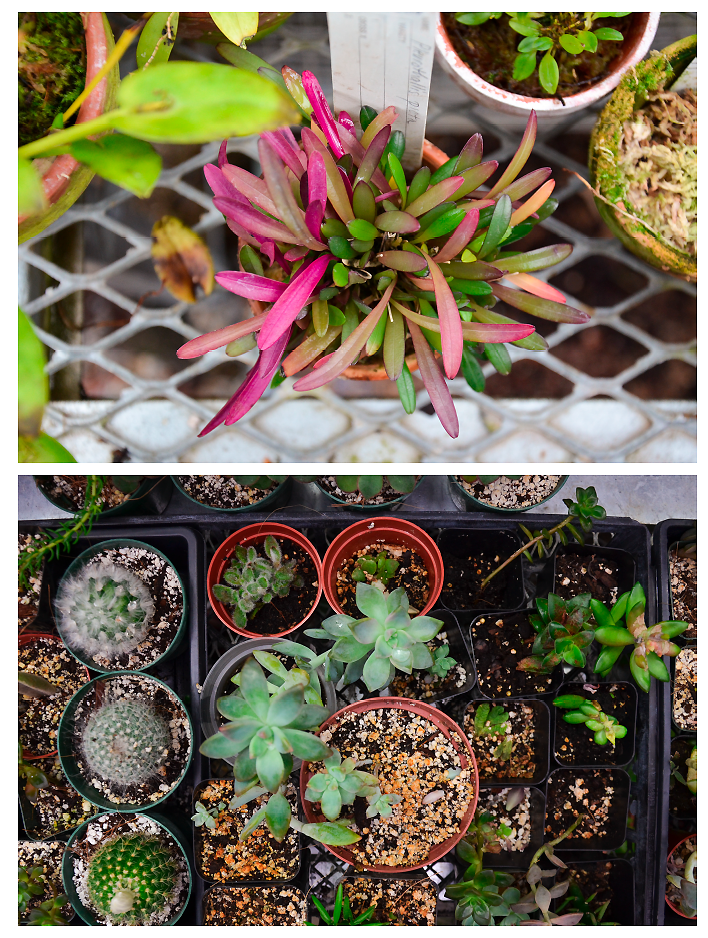
Background:
When shooting think about the background of your subject, clear the area behind the plant, and avoid busy areas that will distract the viewer from the plant itself. If you are shooting outdoors, get below the plant and shoot upward, using the sky as a natural background, or shoot from above using the dirt as a background.
Photos by: Kyla Jo Tighe—Click image for larger view.
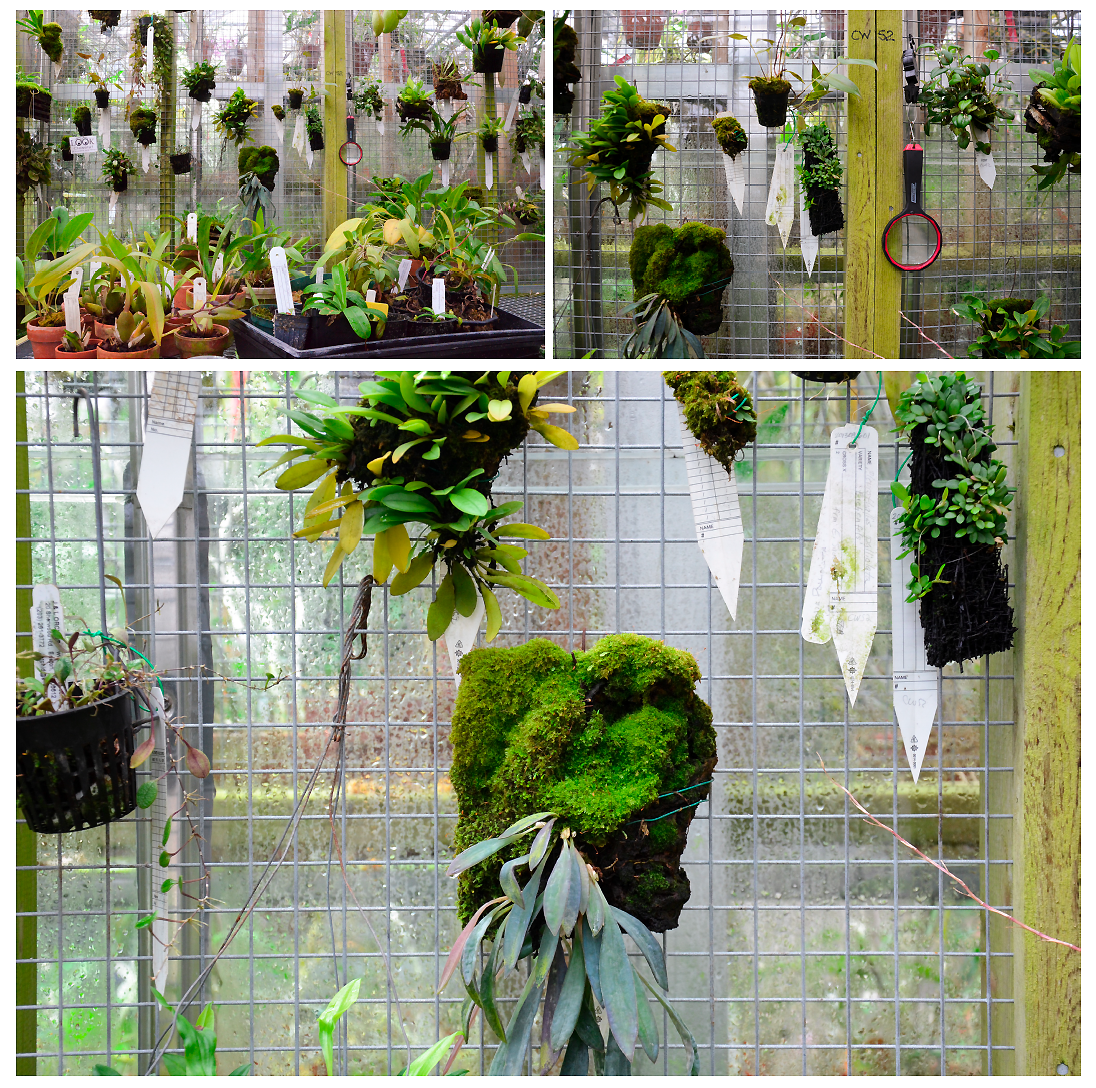
Take a step back:
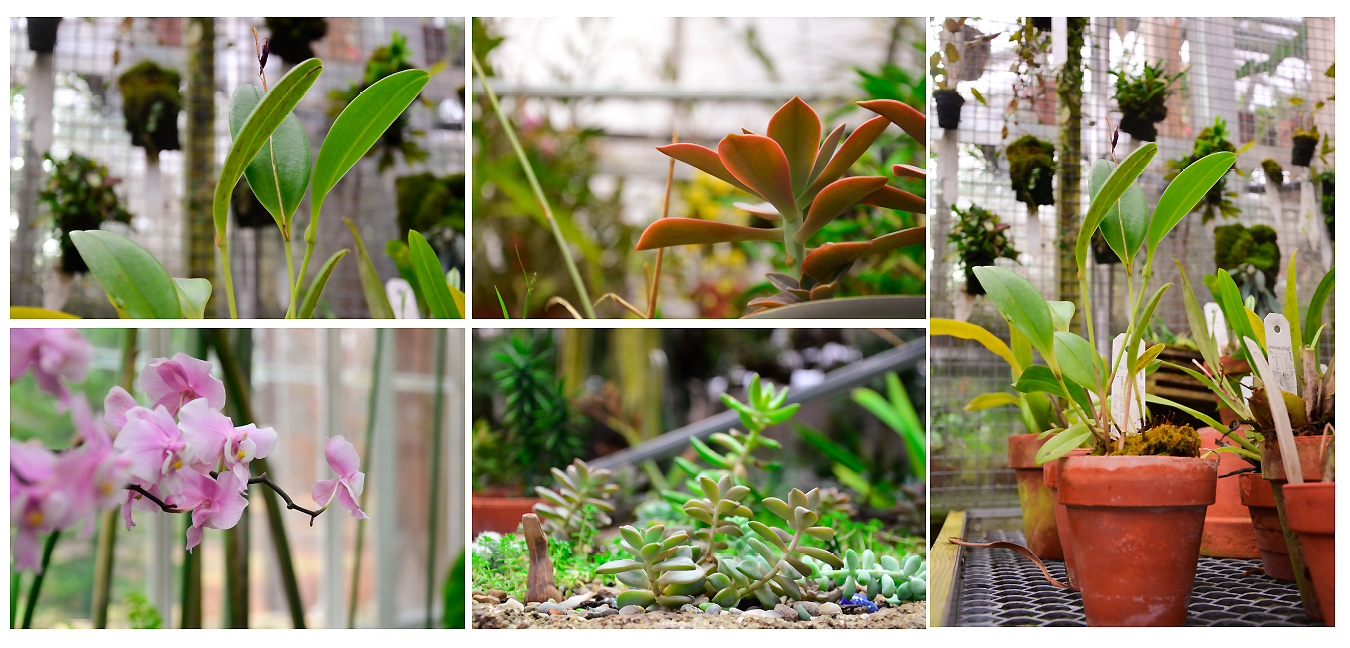
Although close and detailed shots are stunning and impactful, stepping back for a few photographs to show the full frame allows the viewer to place themselves in the space, providing more information to the viewer. Shooting from further away gives the viewer context, giving more of a personal story to your flowers, as well as showing the wide color palette.
Photos by: Kyla Jo Tighe—Click image for larger view.
All photos for this article were taken at the Ball State University Greenhouse. (Outdoor flowers are not currently growing outdoors.) Kyla Jo Tighe is graduating this spring from Ball State University with her Bachelors of Fine Arts Degree in Studio Art with a Concentration in Photography and Intermedia Arts. You can find her either in the studio creating art, taking photos outdoors, or spending time with her four fur-babies, Kip, Mugsy, Carbon, and Lil Dipper. Kyla grew up in Selma and is a Wapahani High School graduate.
